Well, we actually did this project back in December as part of our “winter” theme (I say theme very very loosely... we haven’t really had a distinct theme for a while. We’re still kind of in survival mode. But I think things are getting better.
So here’s what you need to make Borax snowflakes: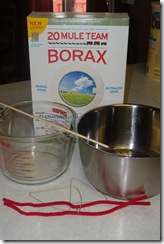
- -Borax (of course)
- -a pot of water
- -a glass jar (I didn’t have glass jars, and I guess since it’s not really canning season, they don’t sell them at the grocery stores, so I went with a glass measuring cup)
- -a stick to hold the snowflakes in the liquid (popsicle sticks, skewers, dowel, etc)
- -string
- -pipe cleaner (any color will work, really, though white probably makes the best snowflakes)
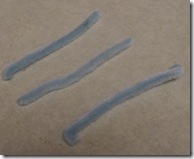
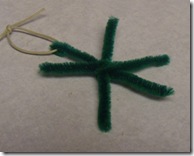 1. Cut the pipe cleaner into three even pieces. Cross them all at the middle and twist them together to form a six pointed snowflake. You can get fancier than ours were, but, well, I was working with and impatient toddler and a perhaps less patient preschooler, so we just did ours quick. Tie a small loop of string around one of the spokes of the snowflake.
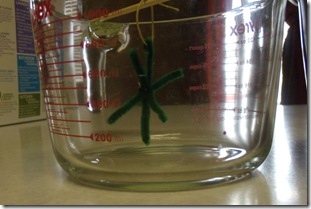 2. Suspend your snowflakes from a stick across the jar. Most people do just one snowflake in each jar. Like I said, I was miserably unprepared and had no jars, so I just did all four in the measuring cup. I had to check on them to make sure the crystals didn’t grow together, and I had to knock them apart a few times, but it worked okay. I would definitely suggest using multiple jars.
Now it’s time to make the magic juice! (which is really just science – a fascinating subject of discussion for older kids. My 3 year old didn’t really understand the concept, and my 1 year old just wanted to drink the stuff – not a good idea, by the way...)
3. Bring the water to a boil and start dissolving the borax in the water. You can do a google search for Borax snowflakes and find a little more precise instructions, but I just kept dissolving the borax until I was pretty sure I couldn’t dissolve any more.
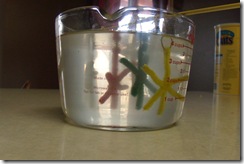 4. Pour the saturated solution into the jars (or measuring cup, in my case).
5. Stand back and watch science happen. We started ours before nap time, and by the time dinner rolled around, they were already well on their way to becoming snowflakes for our tree!
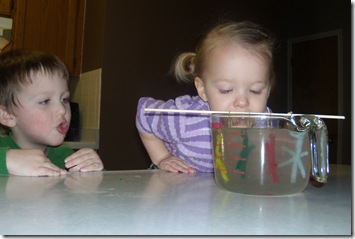
I’m bummed that I didn’t get pictures of the finished project. They looked great, and were pretty sturdy! I wish I had sprayed them with shellac or mod-podged them or something, because the little hands got a hold of them and crunched a few, but they still look great, and are now a permanent part of our Christmas decor!
Sorry this was so late – I’ll post a “reminder” link when it gets closer to Christmas this year.

No comments:
Post a Comment