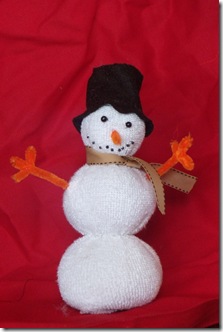
The snow has been melting today, but that doesn’t mean we can’t make a snowman! Today we listened to this song and made these sock snow men. They were fun and easy, and I thought I would share so you can make them with your own little people.
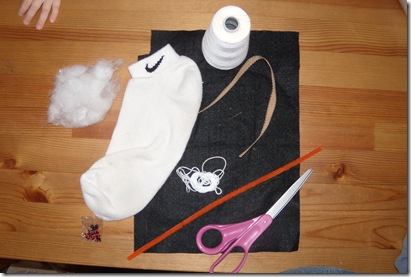 -a white sock (all white is best, but it’s okay if the toe and heel have another color – they won’t show in the end)
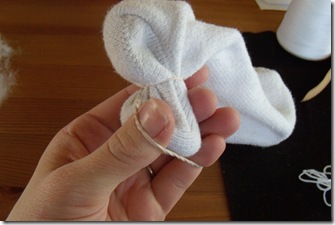 1.) Gather the tow of the sock and wrap a rubber band around it. (I put a rock in the toe before I wrapped the rubber band around - Here’s where I would have done something differently – instead of sticking a rock in the toe of the sock like I did - to add weight to the bottom so the snowman would stand up alone - I would have just gathered the toe of the sock and put beans in with the batting inside the bottom section of the snowman. The rock turned out not to be stable enough, and
 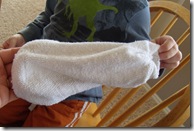 you have to move it around a bunch to make the snowman stand up right)
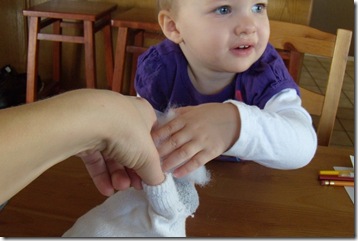
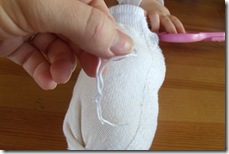 2.) This is the part where I would have put a bunch of beans in the bottom of the sock, and then started with the batting. Stuff the sock with batting (great job to assign to your little einstein!) – just keep going until you have enough to make a big ball at the bottom. Then tie off the bottom with some
 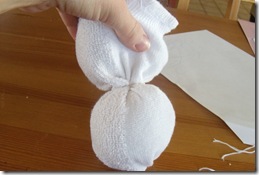 embroidery floss. After the first one, I got smart and twisted off a part (like making balloon animals) and had Little E hold it while I tied the floss. That seemed to work better.
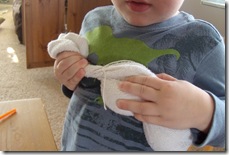 in, tie that part off, then stuff some more and tie off the head. When you’re done making all the balls, cut off the rest of the sock. It will look like your snowman has an 80’s hair do, but don’t worry, you’re going to cover it with a top hat.
 3.) Now for the hat. Cut a circle out of the black felt, then cut a circle out of the middle of the big circle. You should have a donut looking piece, and then the “donut hole.” Now cut a strip that is the same length as the circumference of the inside circle. You don’t actually have to measure the circumference – I just cut a strip and then rolled it around the small circle and made sure it was about the same size.
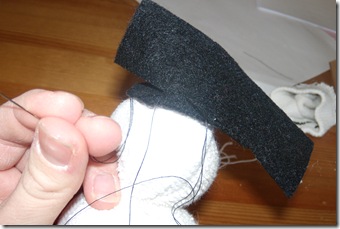 Start with the brim (the donut part) and the strip. Put the donut part over the funky 80’s do on your snowman, and then start in the back of your snowman sewing the strip to the brim, as in the picture. You’re going to do a back stitch to attach the hat to the brim and the head of the snowman, all at once. To start, tie a knot in the end of your thread, and go through the sock on the head of the snowman, then up through the brim.
 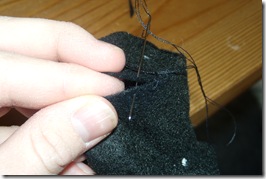 When you go back down, go through the strip of the hat, through the sock, and back up through the brim. do this all the way around the hat.
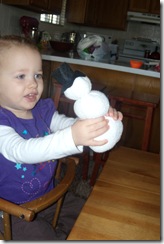 After you get to the back of the hat, use the same stitch to sew the strip shut in the back of the hat, then use the same stitch again to sew the small circle on top of the hat. I even let Little E pull the needle through (on a few stitches – it was faster for me to just do it myself...)
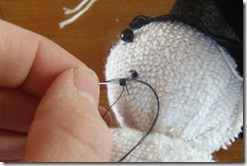 4.) Now you can stitch on the eyes. I sewed through the sock where I wanted to put the eye, then tied the thread around the sock (it was easier than tying knots in the thread), then I threaded the bead on the needle, and went back through the bead in the same direction again. Then I stitched through the snowman’s face to the other place I wanted an eye, and threaded that bead on. I did the same thing for each of the smaller beads that I used for the mouth.
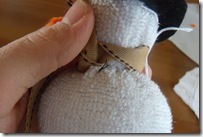 5.) For the scarf, just tie a piece of ribbon/fabric around the snowman’s neck. I attached the scarf with a little stitch, as you can see in the picture.
There you have it. This is the first time I’ve posted a tutorial on my blog, so I’m sorry if it isn’t very coherent. I usually just post recipes. That’s not as hard. If you find this tutorial useful and make some snowmen yourself with your kiddos, please link up in the comments! I would love to read what you’re doing with your little ones!

